
If you want to create printable pages that have notes or descriptive text associated with each slide, Powerpoint has a feature designed to do just this called Notes Pages, or Speaker's Notes (depending on which version you're using). To view the Notes page for any slide, go to the View menu and select Notes Pages. You will see an image of your slide there, and a placeholder for adding your script, notes, or any other text you wish. You can cut-and-paste text from Word here if you like. To print these pages, bring up the Print dialog, and at the bottom of the dialog where it says "Print What:", select Notes Pages. These pages were originally designed to be used as audience hand outs (with space for the audience to take notes) but were also used by many as speaker's notes.


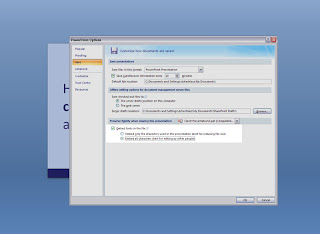 If you've ever downloaded new fonts, created a design and the opened it on another computer only to find that your fonts are missing, you should remember to embed fonts in the file. Especially if you're preparing a presentation that you plan to distribute to others, be sure that you check this option by clicking on the Tools button in the File/Save As dialog box. This will work for most TrueType fonts on the Windows platform. You have the choice to embed only the characters used in the presentation (best for reducing file size) or embed all characters (best for editing by other people). I would strongly recommend you embed all characters since there is always some sort of editing/changes that follow eventually.

